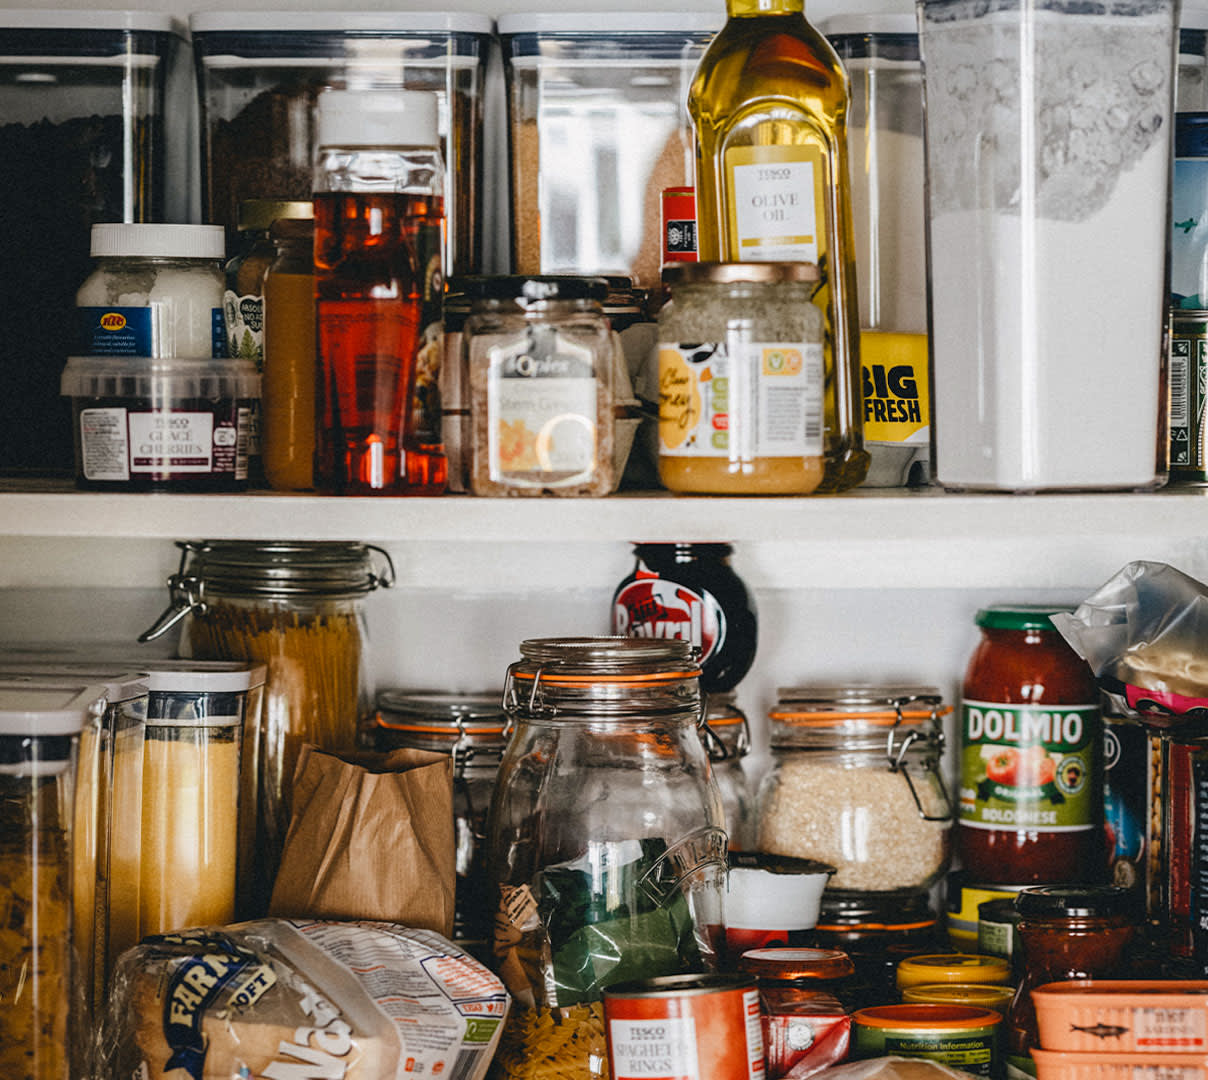
It’s always the pantry. And by “always,” we mean, “always where the clutter finds itself.” If you too can’t seem to stop a random and ever-growing collection of very old and sometimes expired jams and spices from accumulating in your pantry, cabinets, and kitchen drawers, do like we did and get professional help.
We sought counsel from Carly Kutner of Happy Space Solutions, a New Jersey-based home organization company, for a sense of where to begin and what materials we’d need to tackle a large-scale pantry reorg. Here are her professionally approved tips for revamping your kitchen storage space.
Do a Deep Clean
First things first, Kutner says: Before tackling your project, remove all of the items from the space you’re organizing and get it as clean as possible. “Clean your pantry shelves using a good multipurpose spray,” she says. You can get a biodegradable spray like Method at Walgreens, right on DoorDash. “Although this seems labor-intensive, it is the most important part of the process.” Starting with a (literally) clean slate, Kutner says, means you’re not putting things back onto a surface caked with old coffee grounds and soy sauce circles. Once your pantry is emptied and your shelves are cleaned, it’s time to start organizing.
Toss What You Won’t Use
Before you put everything back into your pantry, do an inventory of what you actually need. You may find that 10 to 25 percent of what you currently have in your cabinets is stuff you don’t actually want to put back in. Toss anything that is expired or that you can’t imagine using within the next 6 to 12 months. If there are things you don’t think you’ll use but are not expired, set them aside and donate them to your local food pantry. And definitely toss anything that is damaged (like dented cans, which carry a risk of botulism).
Sort Like Items
Once you’ve tossed what you no longer need, start organizing what’s left into groups, keeping close items that logically go together. Baking ingredients like flour, sugar, and cornstarch, for instance, can be grouped together. Kutner also recommends decanting these items into easy-to-use (and easy-to-see) food storage containers, like the Bistro Airtight 12-piece White Food Storage Container Set from At Home, shoppable on DoorDash. Same goes for, say, boxes of tea. There’s no wrong or right way to do this part — it’s all about what makes the most sense to you. Taking the extra step of organizing before you start putting stuff back will give you a better sense of how much room each section will need.
Get Lazy
Kutner suggests investing in lazy Susans as a way to tidily organize pantry nooks and crannies, and awkwardly shaped cabinets. These rotating space-savers, she says, can help “maximize the usable space of deep shelves and hidden corners.” Depending on the size of your pantry, there are numerous options available in numerous finishes, including wooden and marble options from At Home.
Sauces and vinegars, cooking oils, smaller items, and stuff you don’t need with as much frequency, like backup refrigerator staples (ketchup, maple syrup, etc.) can all go on the lazy Susan too. When you do need them, give ol’ Suzy a spin, et voilà: It’s all there, right at your fingertips.
Use Bins for Grouping
For individually wrapped items, like bagged chips or individually packaged fruit pouches (a favorite among toddlers), Kutner suggests purchasing bins or baskets so that kids and adults can easily grab without having to think twice. “This will make it easy to pull them out,” she says. DoorDash offers plenty of organization solutions, including clear plastic open-front storage bins and mesh-and-wood baskets.
To make sure you get the right stuff (and don’t accidentally end up with more clutter), measure your space beforehand. Make sure to measure for door hinges, and any interior sliding shelving and pull-outs. If you plan to stack bins vertically, make sure to take that into account too. In short, measure twice and order once.
Make Use of Dead Space
Speaking of stacking vertically, you can maximize your space by working upward, says Kutner. “Consider adding shelf risers to make the most of shelf space.” At Home offers tons of vertical-space-maximizing solutions, including stacked spice racks. Stacked shelving also helps with general organization, because you can see all of the items at one time. Tiered spice racks that live inside the pantry can display all of your spices neatly at once, saving you drawer and counter space. Win-win.
Increase Your Visibility
Clear containers are perfect to keep items visible and easier to find, Kutner says. She also suggests using labels to keep track of what’s in each bin. Can organizers help keep all soup and bean cans in one place, making them “more visible and streamlined,” she says.
Organize by Zone
Once you’ve figured out a general plan for your pantry, Kutner suggests implementing a “zone” organizational strategy. “Middle shelves are the easiest to see and access,” she says. “Load them with daily-use items, or with food you want to keep in sight.” The bottom shelves, she notes, are best-equipped to handle heavier items, like things that have no other immediately logical place in the kitchen — say, your collection of extra-long barbecue skewers, or that InstaPot you keep swearing to explore the rice-cooking and yogurt-making functions on. The top shelf is perfect for items that don’t get much use, since they are often not within sight or reach. Snacks, or paper goods, she says, belong up top. “Think about items that could fall off and not hurt anyone,” Kutner says.
Keep Checking In
Once your pantry is cleared out and organized, you’re 90 percent done; the other 10 percent is just vigilance. During quarterly check-ins, it’s best to look through items to see whether or not anything is old or expired. You can dust out the pantry at this point (instead of doing a major deep clean, which Kutner recommends twice-yearly), and clean up any spills that may have occurred in the interim; tweak any systems that don’t appear to be working; and tidy up areas that require extra attention.
“The secret to keeping an organized pantry is to check in a few times a year to assess its contents,” Kutner says. To sustain the hard work you’ve achieved, continue your progress throughout the year, tidying up as you go. “Like most spaces in your home,” she notes, “the pantry is not a one-and-done organizational project.”
Photo credit: Annie Spratt on Unsplash